I spent 6–7 hours getting my Dymo 550 Turbo label printer to work reliably over LAN so that everyone on the Office VLAN could print labels — especially wireless users. I won’t bore you with every failed attempt, but here’s what finally worked. Hopefully, it saves you some time and frustration.
Goal: Make the Dymo 550 Turbo accessible to all users on the Office VLAN, both wired and wireless. The printer was assigned a static IP address and connected via an RJ45 socket that belongs to the Office VLAN.
Setting Up for Wired Devices:
Install the latest version of Dymo Connect.
You can get it directly from Dymo’s official website.Ensure your PC is connected to the Office VLAN.
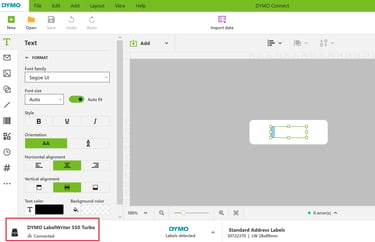
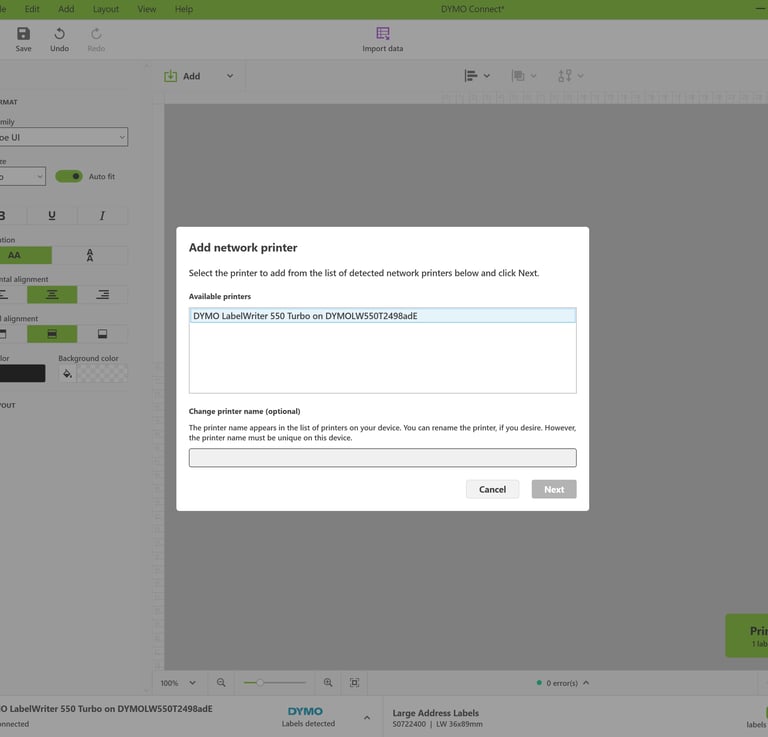
This is important so the software can discover the printer.Open Dymo Connect → File → Add Network Printer.
After a few seconds, your network printer should appear in the list.Select the printer and click “Next.”
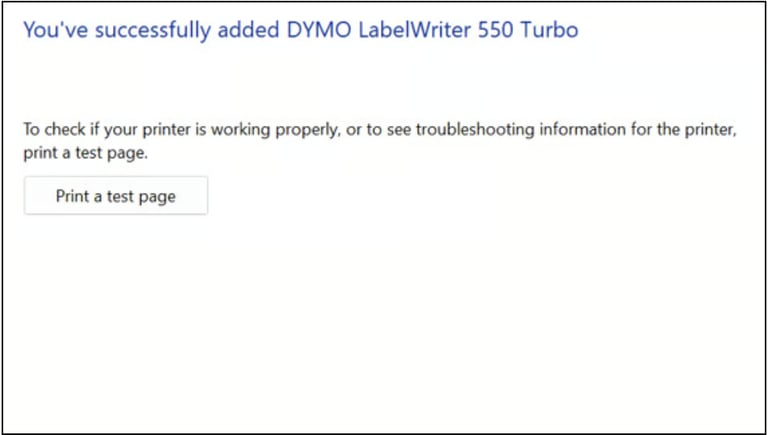
Follow the prompts to complete the setup.Confirm installation.
Once finished, the printer should appear under Windows Settings → Bluetooth & Devices → Printers & Scanners. Easy.
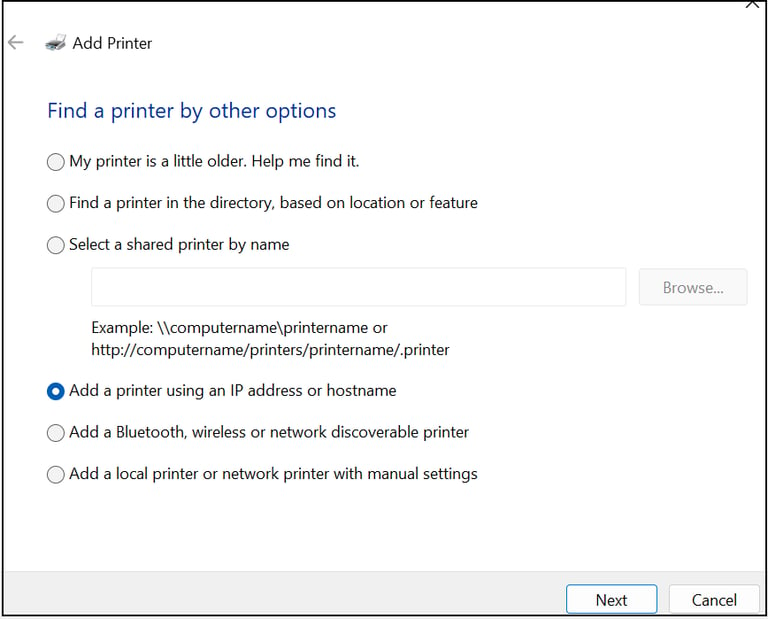
However, getting wireless devices to print was a challenge, here is what worked eventually:
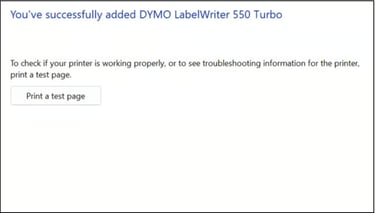
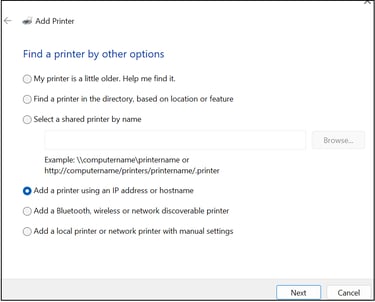
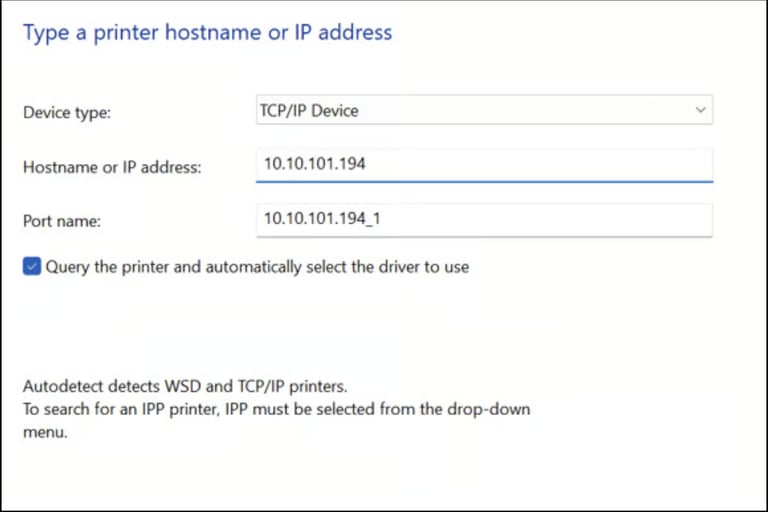
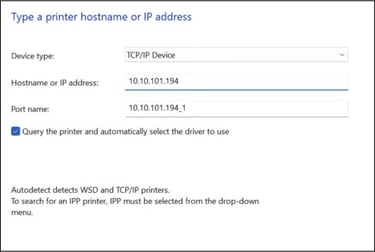
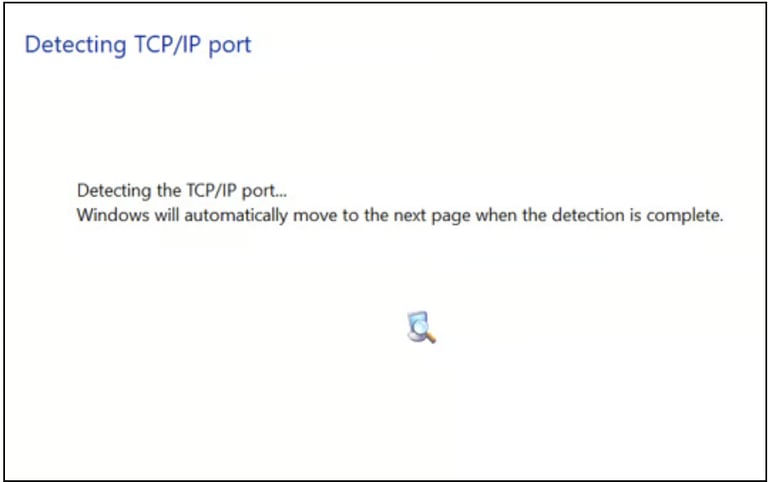
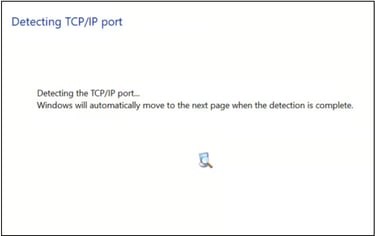
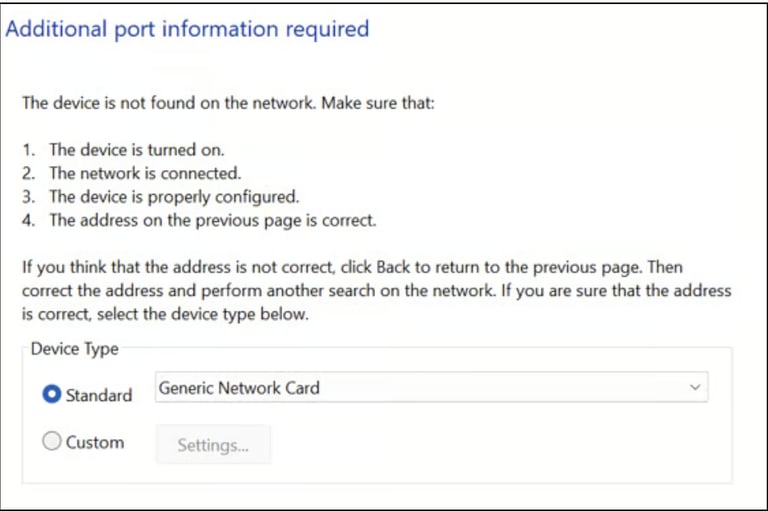
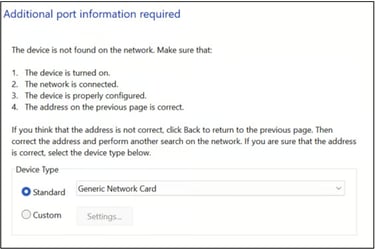
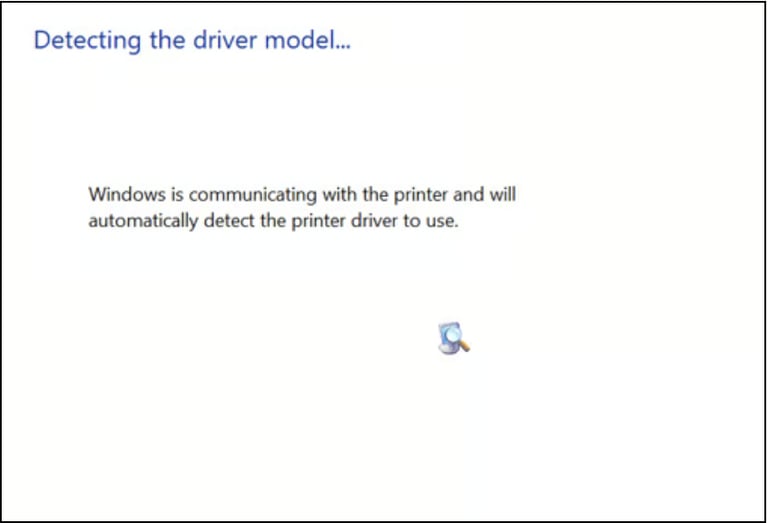
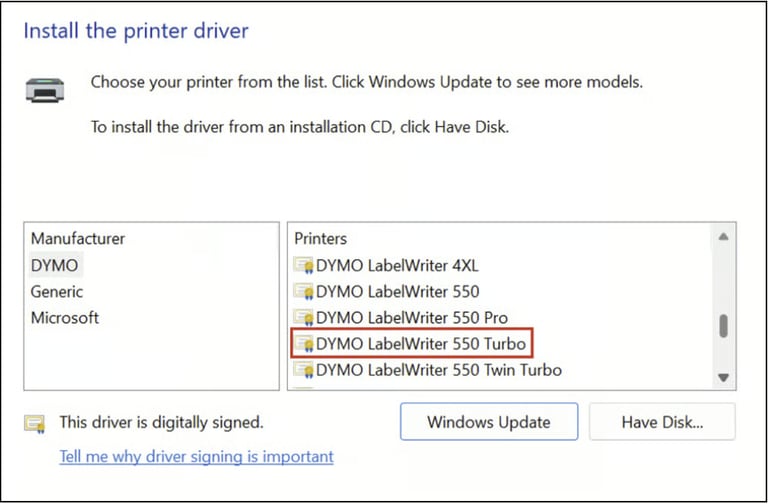
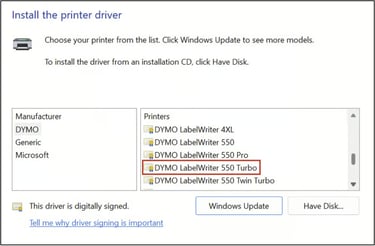
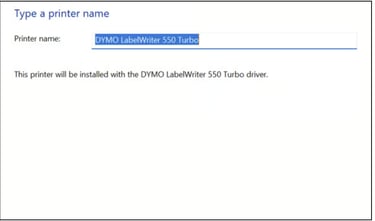
Go to Printers & Scanners and select Add device.
Follow the pics

If this doesn't work - uninstall Dymo Connect, Dymo Connect Web Services, unplug Dymo550, reinstall Dymo Connect, plug in Dymo550 and check if it works.
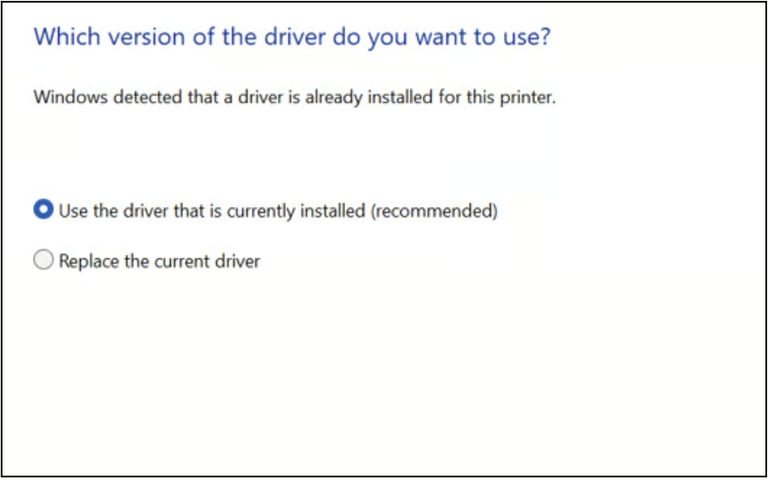
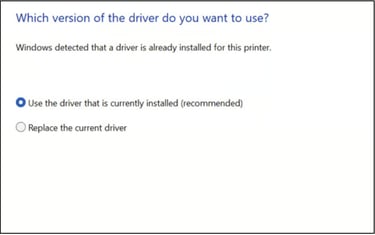
If it still doesn't work - redo the process and select installation of the new drivers instead of keeping current.
Hope it helps!